
|
• Back to TCS
• Back to Z Sitemap • Email for help |
• |
Congress enacted the Consumer Product Safety Improvement Act of 2008 and we must now note that these ARE NOT TOYS, AND ARE NOT INTENDED FOR USE BY CHILDREN UNDER AGE OF 14. These products are Model Railroad Equipment and Accessories intended for use by adults. |
| Train Control Systems |
|---|
• Contact Train Control Systems:
|
• Train Control Systems WARRANTY PROCEDURE:
|
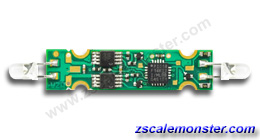
| MZA4 Decoder |
|---|
|
| MZA4 Decoder Installation in MTL GP9 - GP35 (Similar to SD40-2) |
|---|
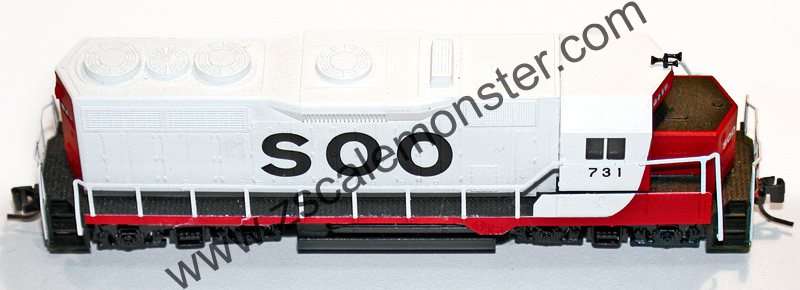 |
Remove the body (skin) by gently pulling up on the shell.
Next remove the fuel tank |
|
First, using tweezers remove the two springs located on either side of the Locomotive (take care not to crush the spring's coils) than slide the original lighting board off.
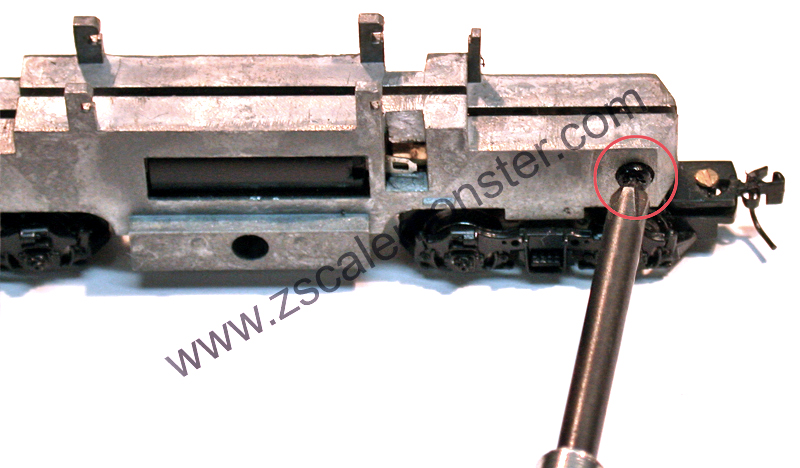
Here is a picture of the Locomotive's chassis with its shell taken off and without light board installed. Loosen the six screws holding the frame halfs together about one turn (circled in red), but do not remove the screws. There are three screws on each side. |
 |
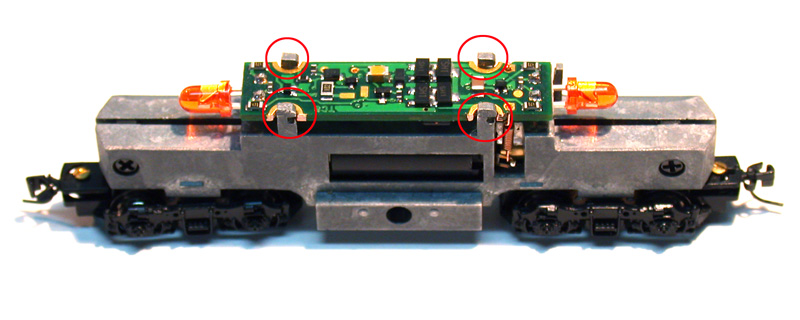 |
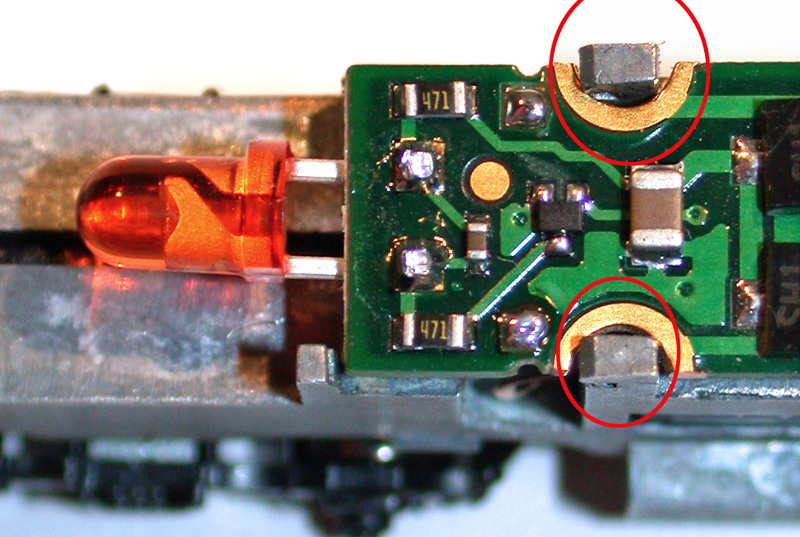
Gently fit MZA4 so that all four decoder contacts (circled in red) contact the four chassis' posts. Track power connection to the decoder is achieved by a pressure fit between the frame post. Do not attempt to slide the decoder into the slots in the posts the way the original board was. The decoder should be level with the slots but not in them. After the decoder is in place re tighten all six screws. |
|
Attach the half-circle end of the spring to the decoder, and the semi-circle side to the motor tab. Follow spring direction as shown in the photo above. Re-tighten the screws.
This pictures shows electrical contact between the MZA4 and the frame. |
 |
 |
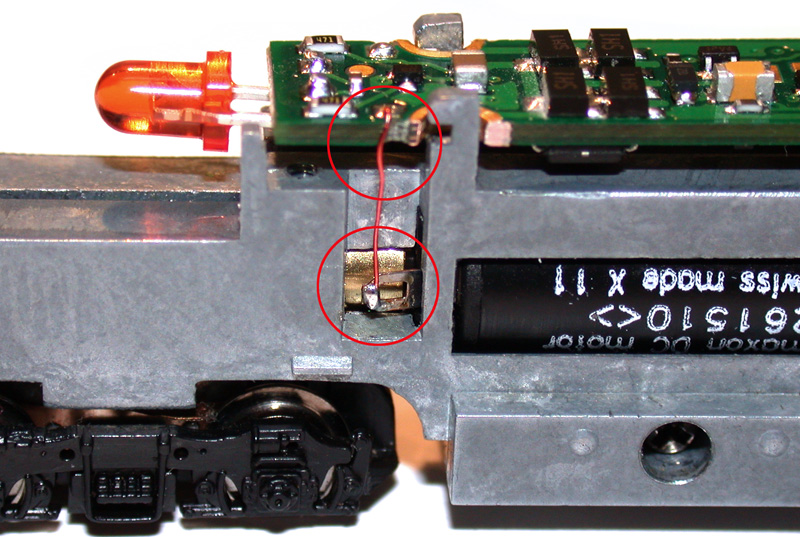
Optionally we recommend using Magnetic Wire to replace the "hard to work with" springs that come with the Locomotive. |
| Here is the picture of MZA4 decoder installed using Magnetic wire. |
 |
|
Go to:
• Back to TCS • Back to top |
• Z Sitemap • ZSM Home • Email for help |
|
|
