
|
|
• Back to AZL
• Back to Z Sitemap • Email for help |
• |
Congress enacted the Consumer Product Safety Improvement Act of 2008 and we must now note that these ARE NOT TOYS, AND ARE NOT INTENDED FOR USE BY CHILDREN UNDER AGE OF 14. These products are Model Railroad Equipment and Accessories intended for use by adults. |
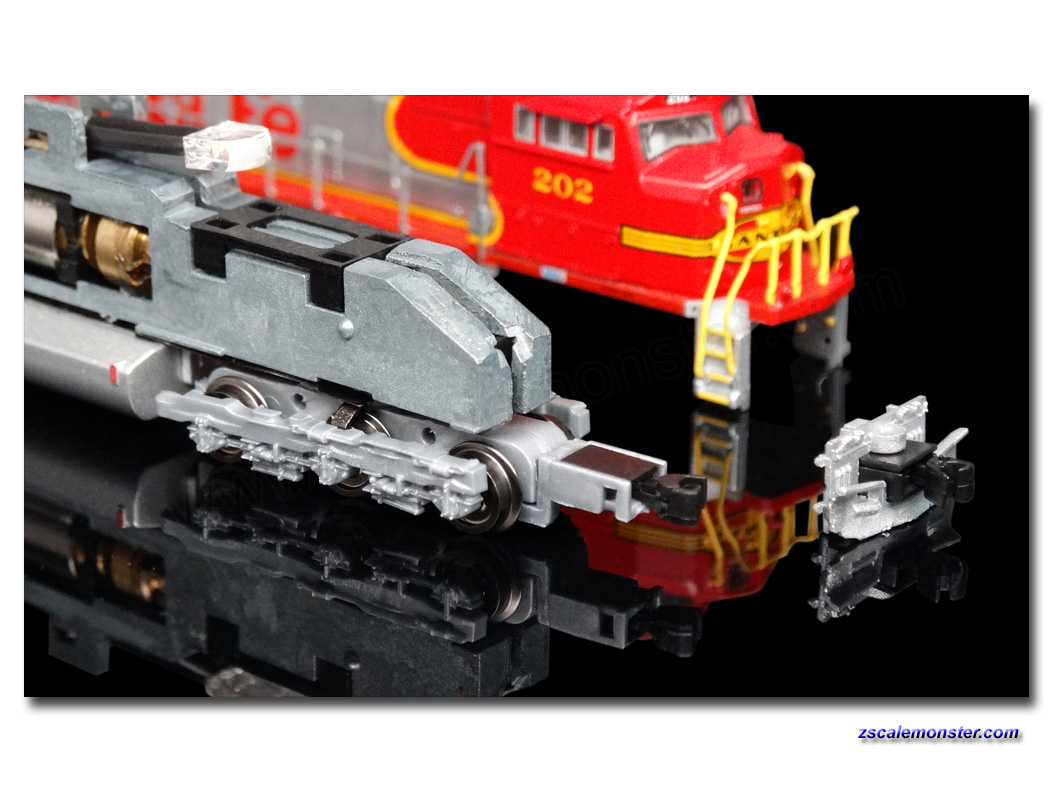
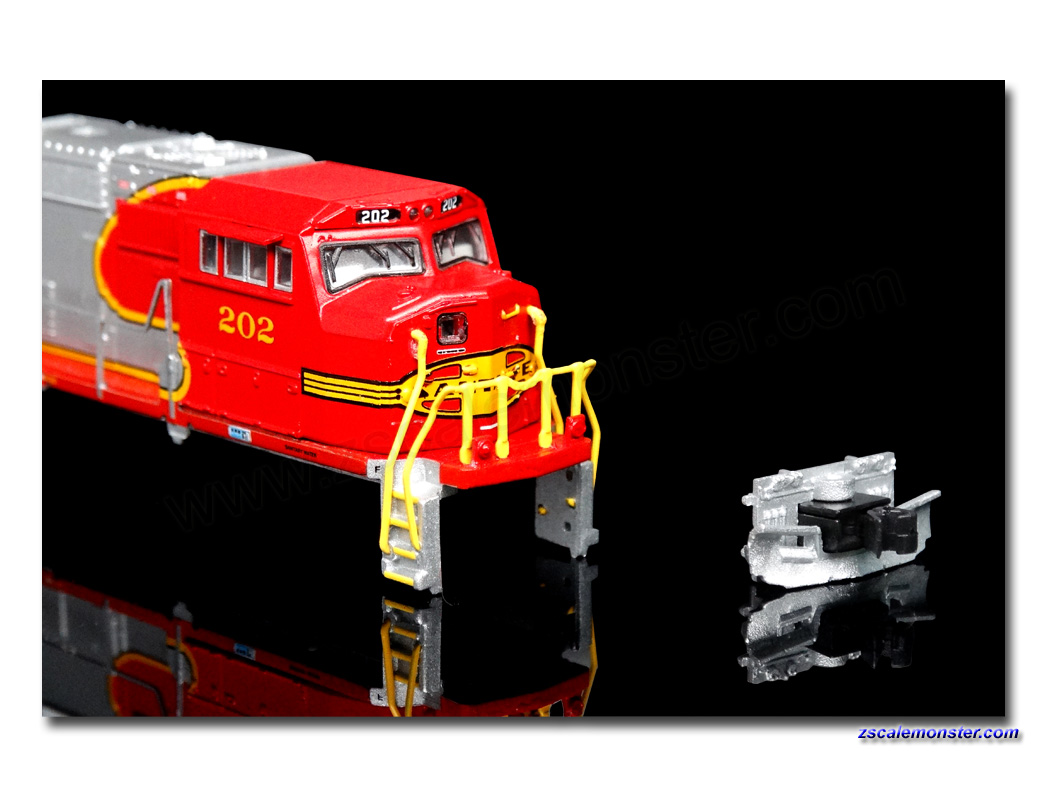
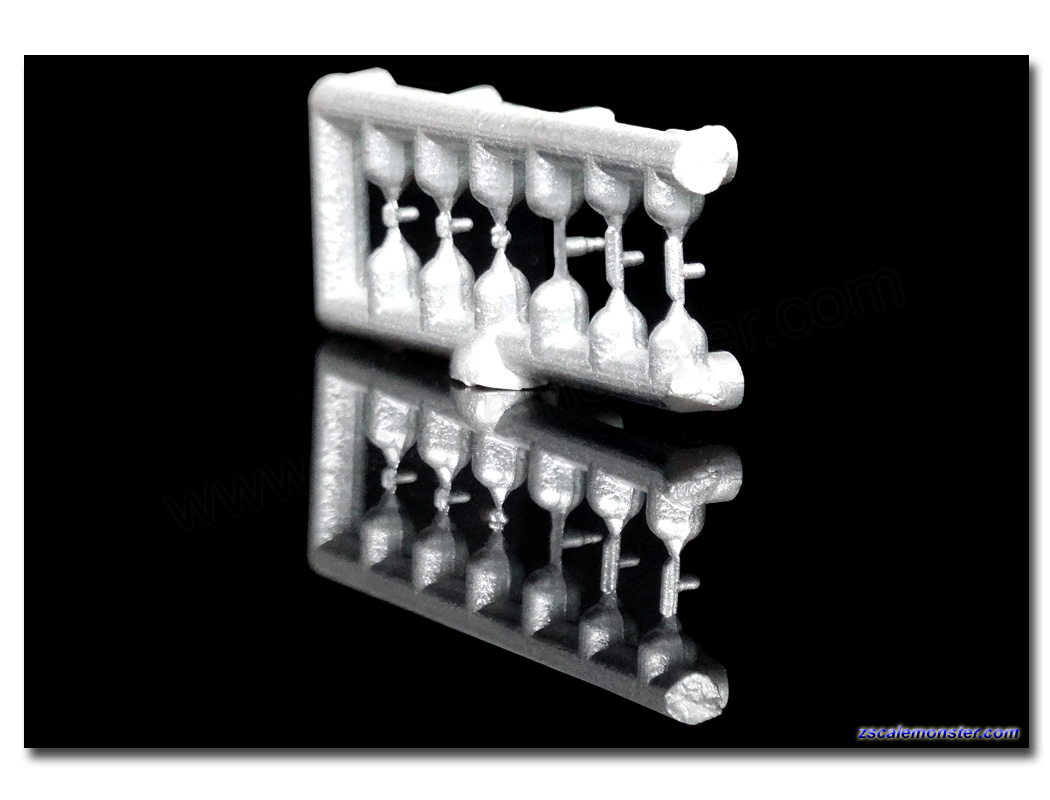
| Tech Tips ��� SD70 Locomotive Plow Installation |
|---|
From American Z Line:
|
|
Step 1:
|
|
Step 3:
|
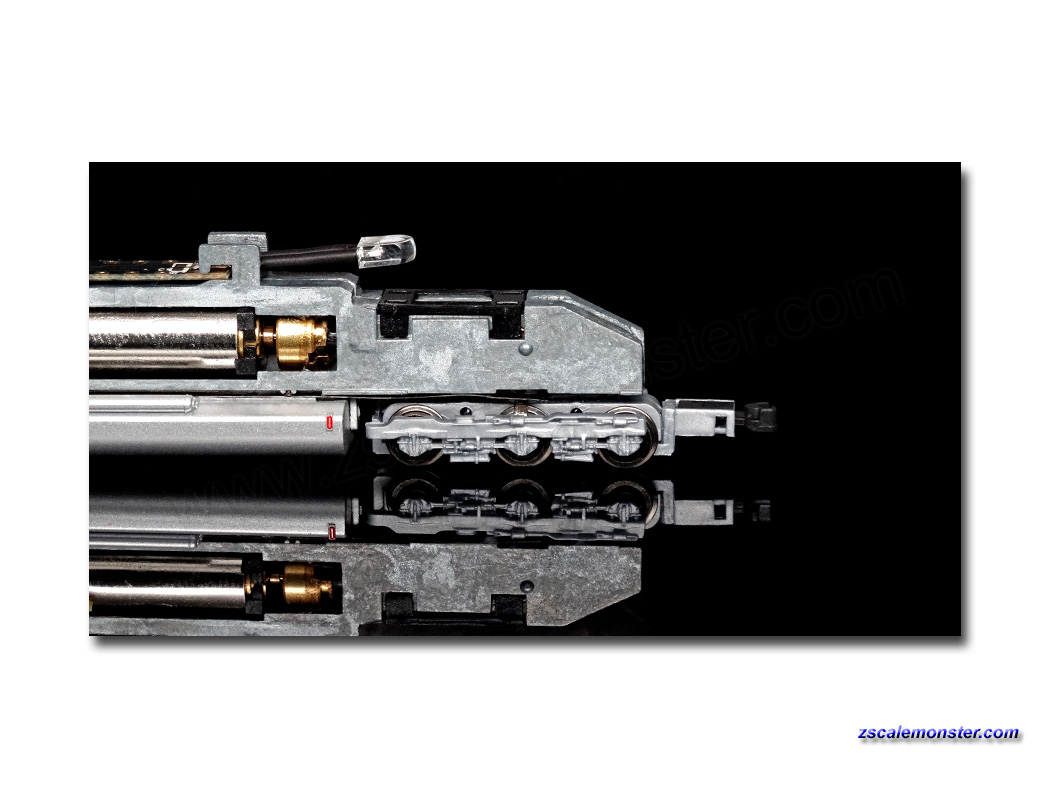
Note:
|
Step 4:
|
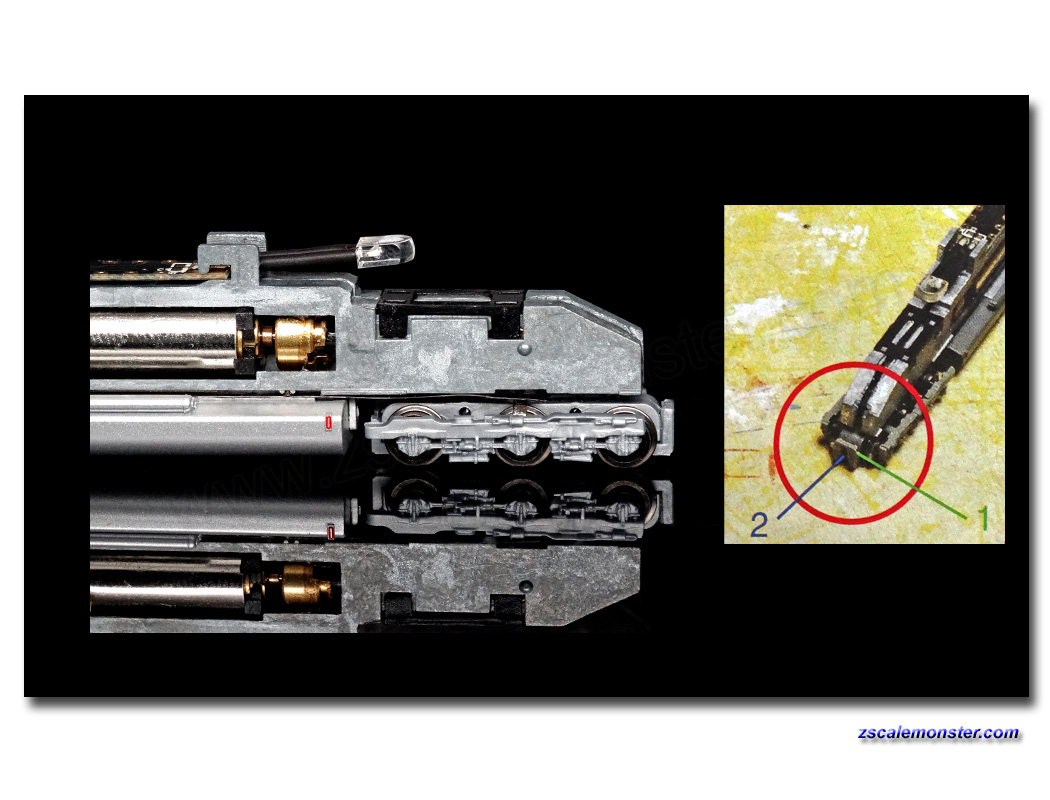
Step 5:
|
|
Step 7:
|
Step 8:
|
|
|
Go to:
• Back to AZL • Back to top |
• Z Sitemap • ZSM Home • Email for help |
|
|